Fri 7th Sept

08:30

GZ Buy FIBCON

I had it! After hitting a resistance area at the 11987.7 level, price went down quickly to the 61.8 level I marked with anticipation. 

I liked the trade but as it is difficult to measure the strength of a movement, specially after coming off an area of support or resistance, I quickly moved my stop loss to breakeven in case bears took price lower. 

In 30 seconds, I was almost +1R up.

In 1 minute it took me out of the trade for a -0.01R, and half a minute later price was close to my +2R! 

Fri 7th Sep

Welcome to the daily DAX commentary where we share with members our unique take on Price Action as the session unfolds. We comment on trade setups that conform to our trading edge and how we use the hybrid Blackbox Trade Controller for MT4.

Use the comments section below to post questions and read what others are saying.

Remember to:

12:11

4 trades, 2 losers, 2 winners

I took two buy trades just after 8am, they were both losers. I guess I was trading the move up to the RESCON mentioned earlier.

They were not good trades and I’m pleased the second one was a small loser.

When price failed to hold above the D1 EQZ level at 11987.7 I sold the Micro Double-Top and moved my target lower reasoning that this could be another bearish day.

It was going well, however, I trailed my stop too close to an M5 EQZ Mid-line at 11952.8 and was in the process of moving my stop back up slightly when price spiked up and closed me out for +3.38R.

I should have closed out when price reached the area of SUPCON but was so wanting to ride a big move down I gave back a few R 🙁

See entry below for what happened next.

After being closed out  – see above – I sold again due to the bearish reaction to the Mid-line when I’d trailed my stop too closely. Very quickly price sold off again and once again I moved my target lower hoping to ride a bearish move down.

The result was the same as earlier, it went well, at one point I was +7.00R in profit but failed to maximize the setup and was eventually closed out for +2.06R

As I type price is moving back down due to the M15 MAB and Yes Low which I should have used to protect my stop when going for a bigger move down.

So, 5 trades, +2.64R in profit BUT it should have been much more!!

I failed to let Grid structure guide me as to when I should have closed out, I was being too optimistic, greedy and going for the +10R trade I’ve been dreaming of.

A profit is a profit and I’m pleased to have these trade management issues to work on, they show I’m at least on the right side of the market.

08:23

Area of RESCON on M15 Chart

Here it is on the M15 chart, maybe there’s a juicy salmon up there 🙂

08:19

Area of RESCON Maybe??

Possible area of RESCON?

07:22

M1 Sell MAB Loser, -1.62R

My own fault for re-acting rather than anticipating 🙁

I sat down just after 7am to see price coming up off the move down, just above the Low. I quickly put the FIB tool on and entered the M1 MAB at the M5 EQZ Mid-line at 11952.8 only for price to gap up then gap up again for a -1.62R loser.

The trade lasted 3 seconds and I did not move my stop!!

Sometimes you get away with it but not today. The move was back up off the D1 Bull Mid-Channel at the Low and Yes Low and price has continued moving up.

Very poor trade, should have just watched!!

Thu 6th Sep

Welcome to the daily DAX commentary where we share with members our unique take on Price Action as the session unfolds. We comment on trade setups that conform to our trading edge and how we use the hybrid Blackbox Trade Controller for MT4.

Use the comments section below to post questions and read what others are saying.

Remember to:

20:06

Sell loser using M1 Micro-Channel

I spent too long looking at the M1 Micro-Channel and entered a sell. Did not work out 🙁

18:18

M5 Sell MAB using M1 Micro-Channel

I’ve just taken a look at the last few hours of price action since the sell winner and noticed that  price continued to sell off after breaking below the D1 EQZ level at 11987.7, it formed the session low just above the D1 Bull Mid-Channel.

It then went into a range whilst order-flow rebalanced itself. This range was actually a gently sloping bear channel as shown by the M1 Micro-Channel.

Look what happened when the M5 MA (red line) caught up with price. It was confluent with the top of the channel and the top of the M5 EQZ at 11960.6 and offered a sell trade back down to the bottom of the channel and M5 EQZ zone.

A 3R trade was possible with good timing!!

Note how price has moved back up into the channel, this is a great example of how the Price Action Grid can assist us in taking 2R+ trades from Micro-Structure . We have to ‘Be The Bear’ and study the price action day in day out and learn to spot these patterns.

Price Action is a language and like any language it takes time to learn.

15:20

Sold break of H1 Bear Channel, +2.31R winner

I’ve just taken a sell trade when price moved back down from the Open to test the H1 Bear Channel.

This was NOT a FIBCON or MAB BUT I’d seen this price action before and on the second attempt to break below the channel I entered the trade.

I closed out just above the 12000 level for +2.31R, very happy and in profit for the day 🙂

14:37

Golden Low-High Potential

After reviewing the Golden Low-High Buy trade earlier it’s worth pointing out how good a setup it was, even though I didn’t trade it profitably 🙁

The M15 chart above shows how price moved back up to the intersection of the D1 and H1 Bull Channels.

It’s common to see price move between the Daily and Hourly Grid structure like this, the challenge of course is trading it profitably!!

11:25

Greetings from Scotland!!

I’ve just setup my laptop and monitors after the trip up yesterday. I will keep an eye on things but will be unable to trade throughout the day as normal.

Yesterday price continued the bearish mood reaching 12034.1, today its set the current session low at 11986.4, at the bottom of the D1 EQZ shown above.

Once again the Grid in action.

12:27

Two losing trades, such fine margins!!

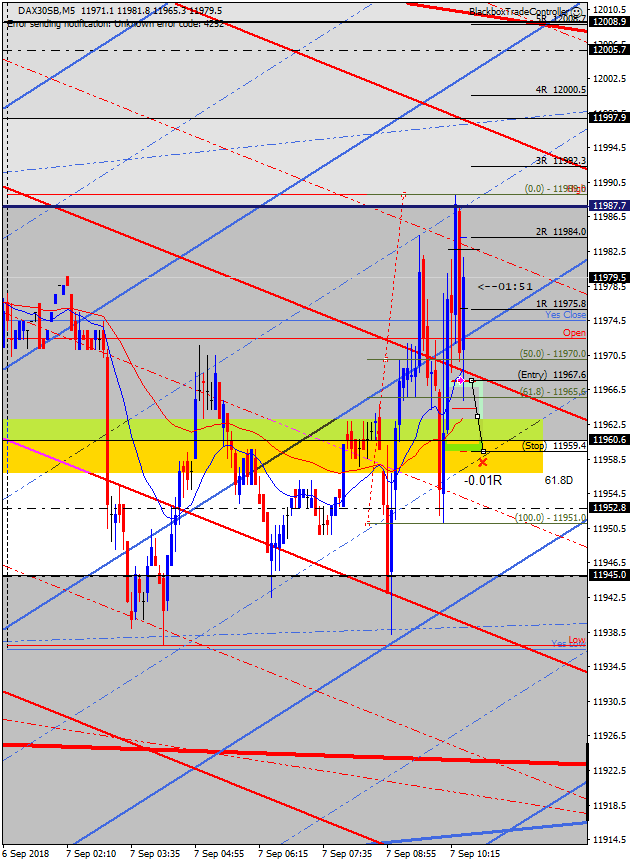
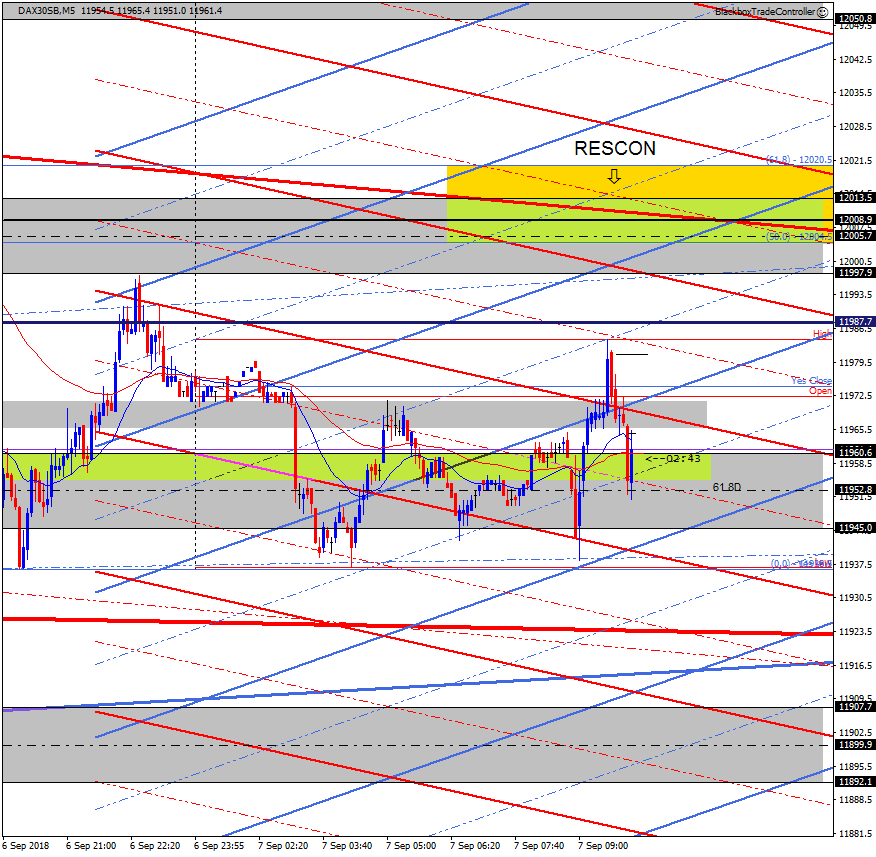
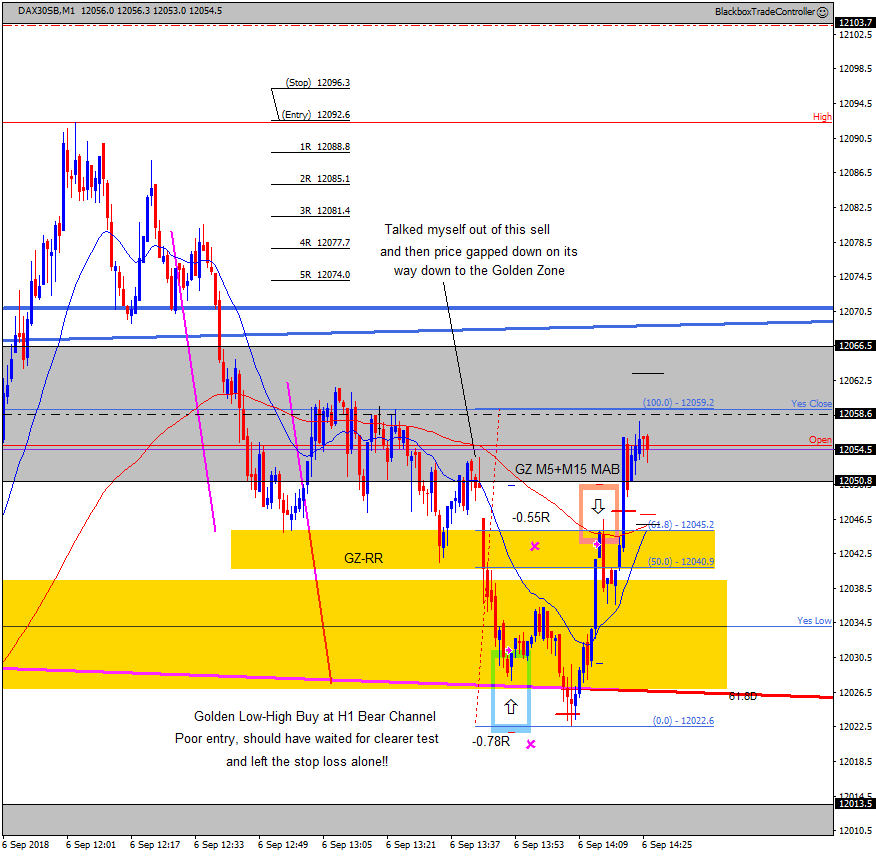
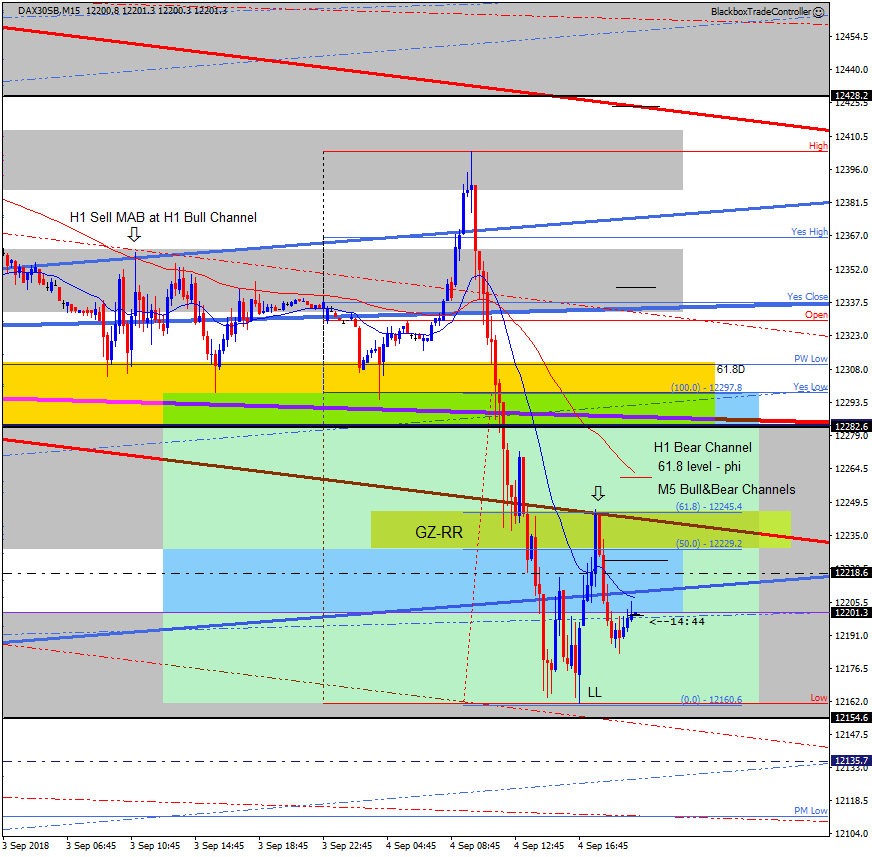
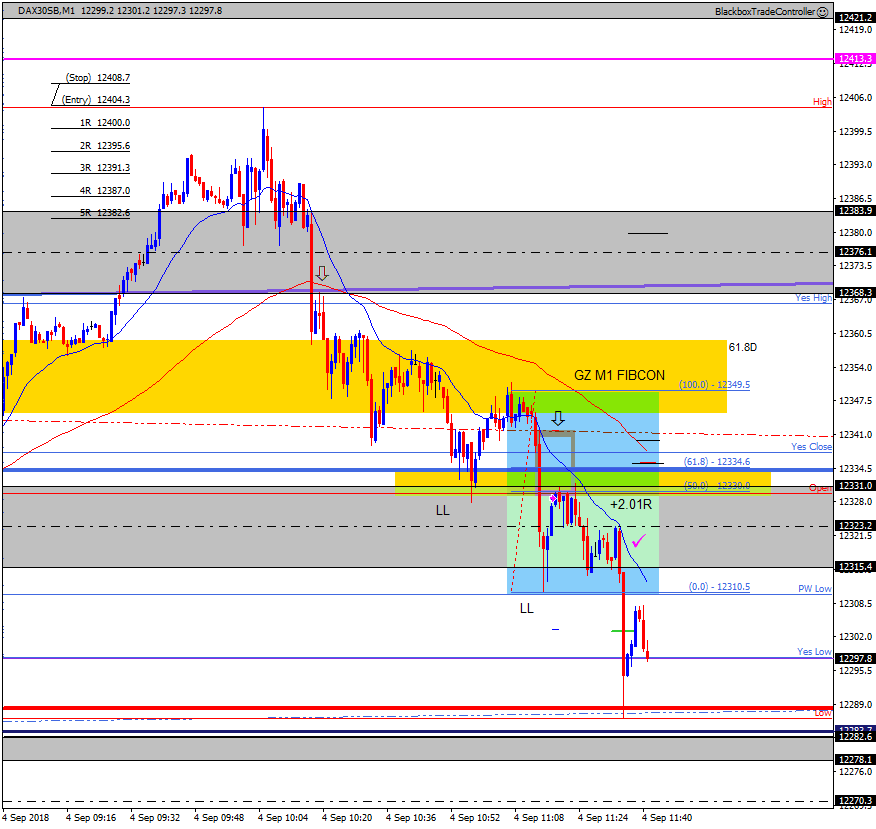
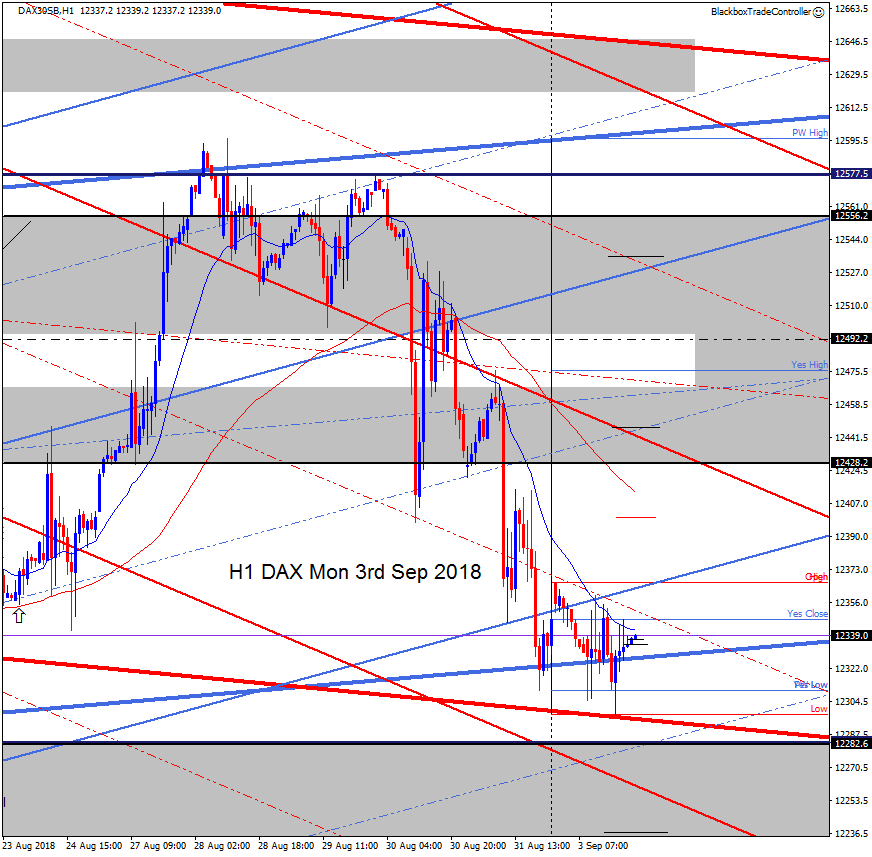
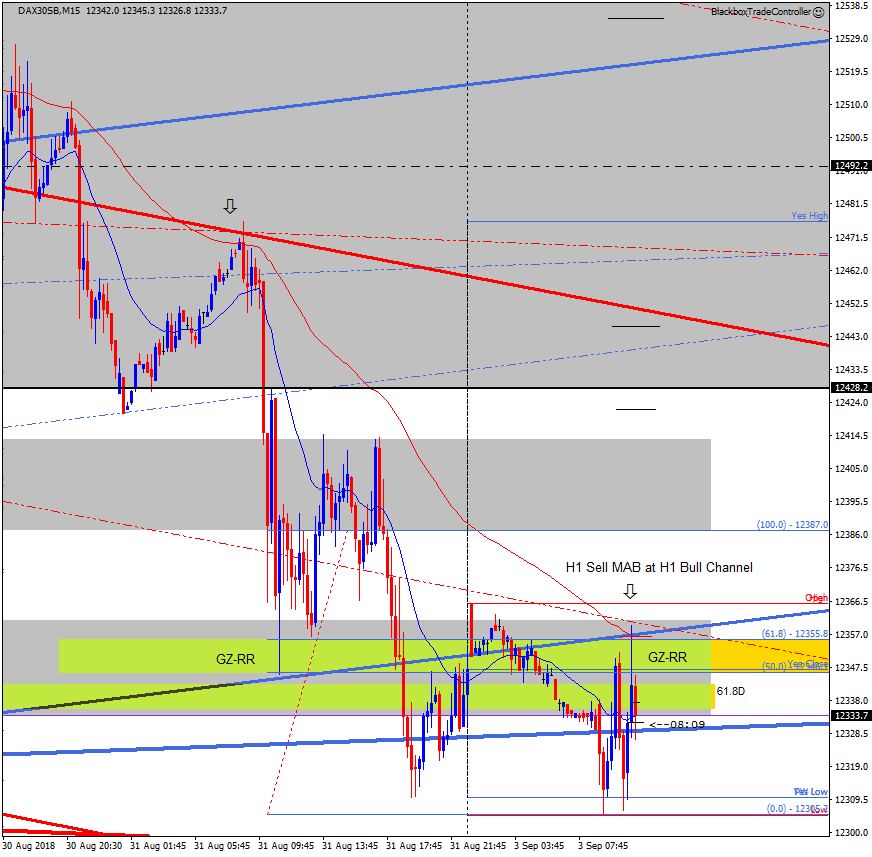
After setting up my laptop price was moving below the Open. I reasoned a Golden Low-High Buy trade was possible at the H1 Bear Channel.

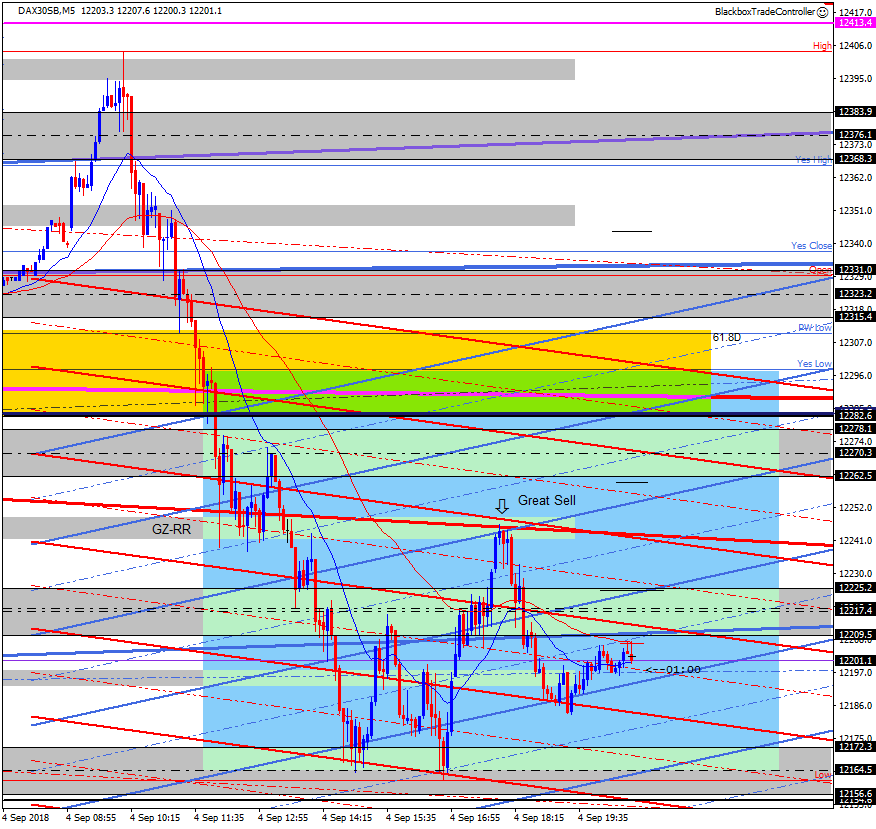
Price briefly retraced back up the Open, I positioned the Trade Tool and was SO close to taking the sell down to the Golden Low-High when price gapped down 🙁

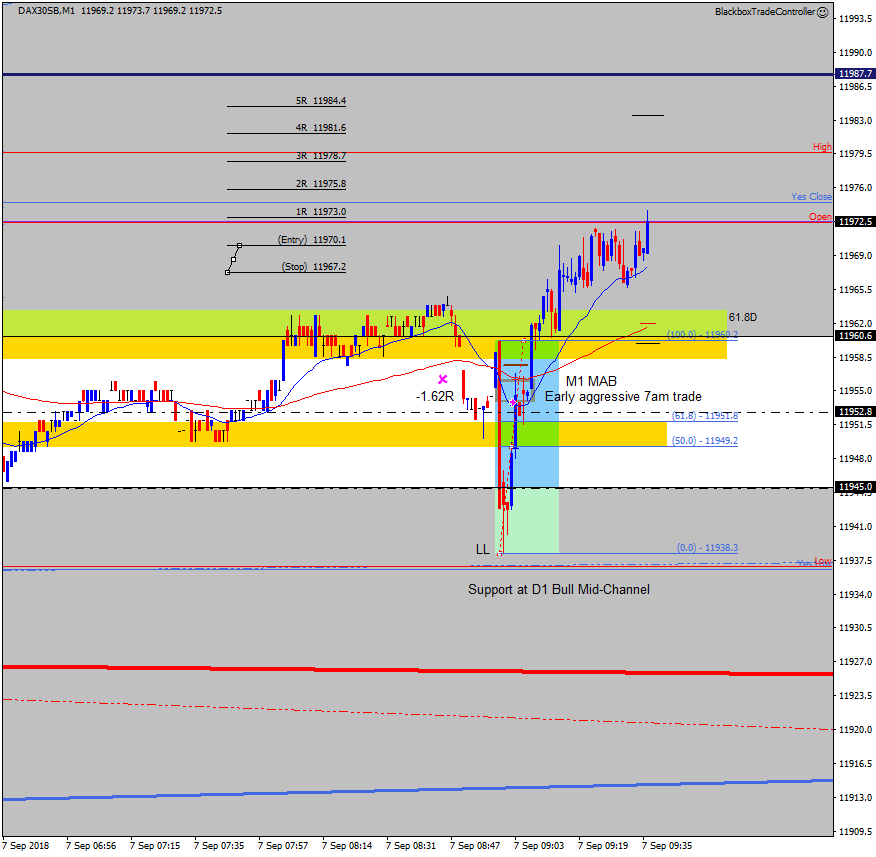
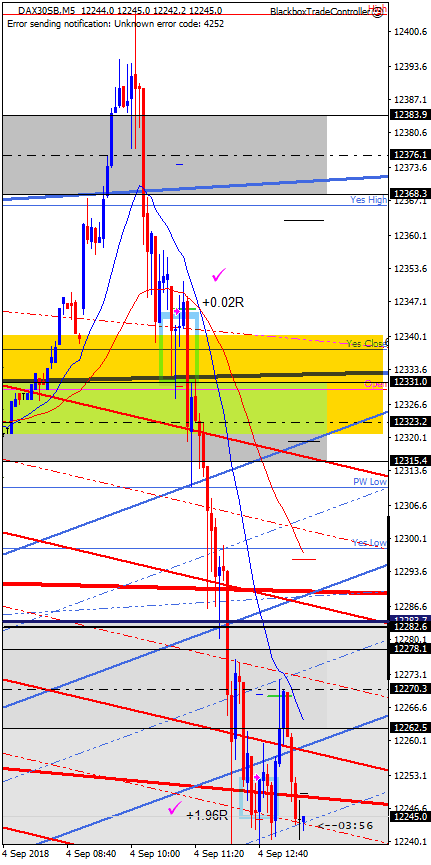
I took the Buy trade but did not get a good entry and then decided to reduce my risk only to get stopped out before price went on up and would have given me the 2R winner.

Such fine margins!!!

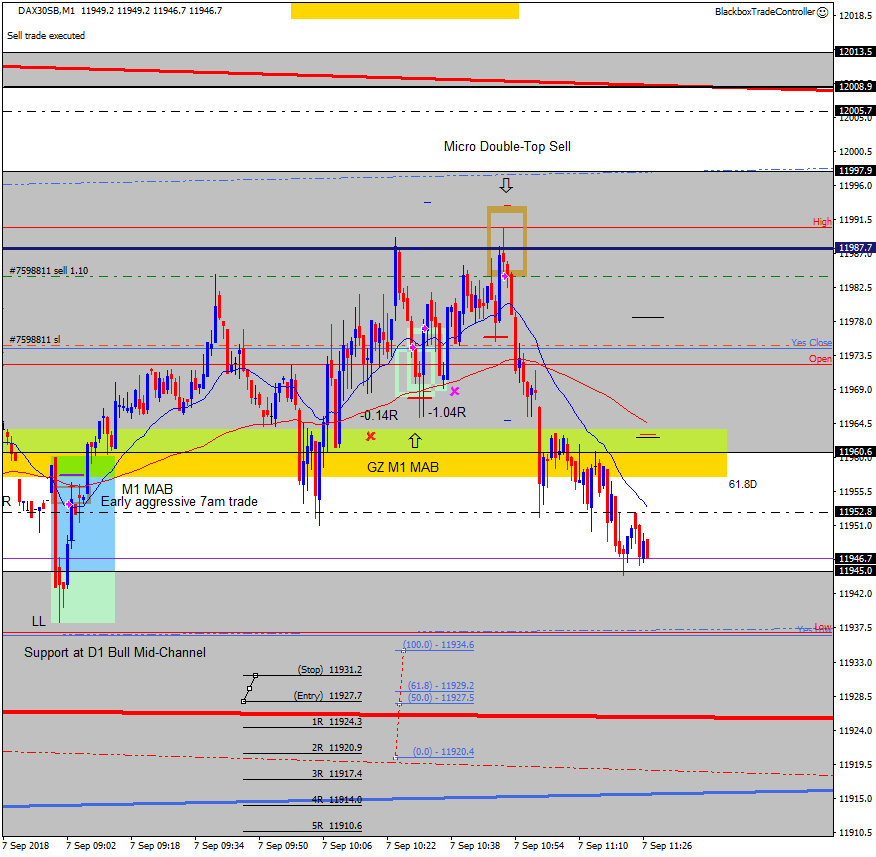
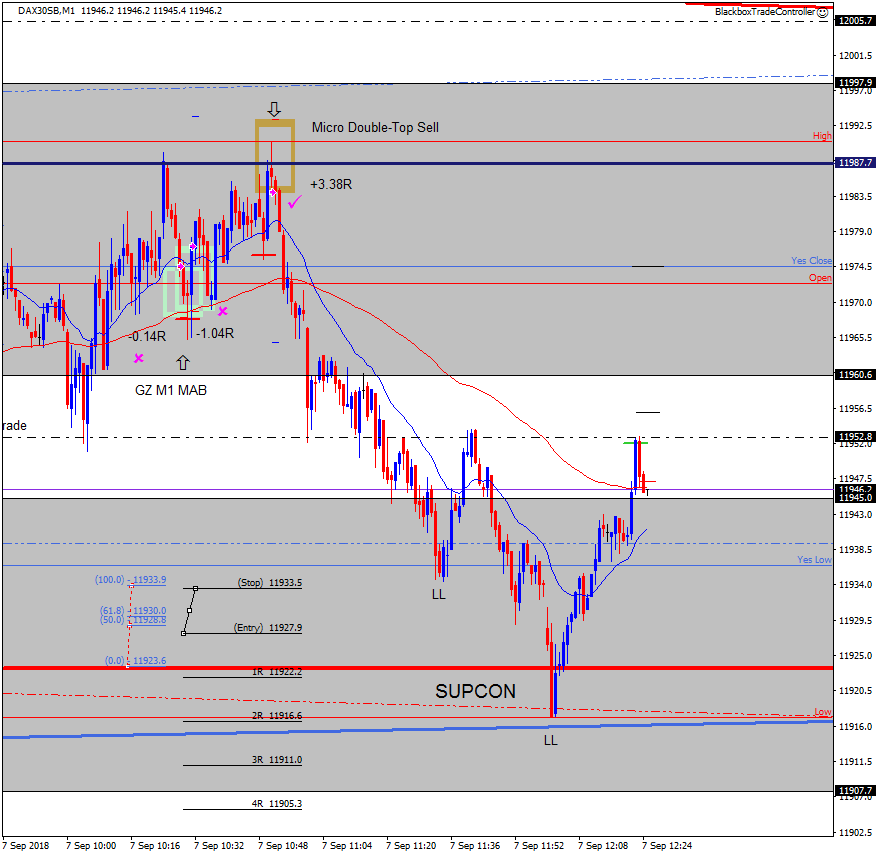
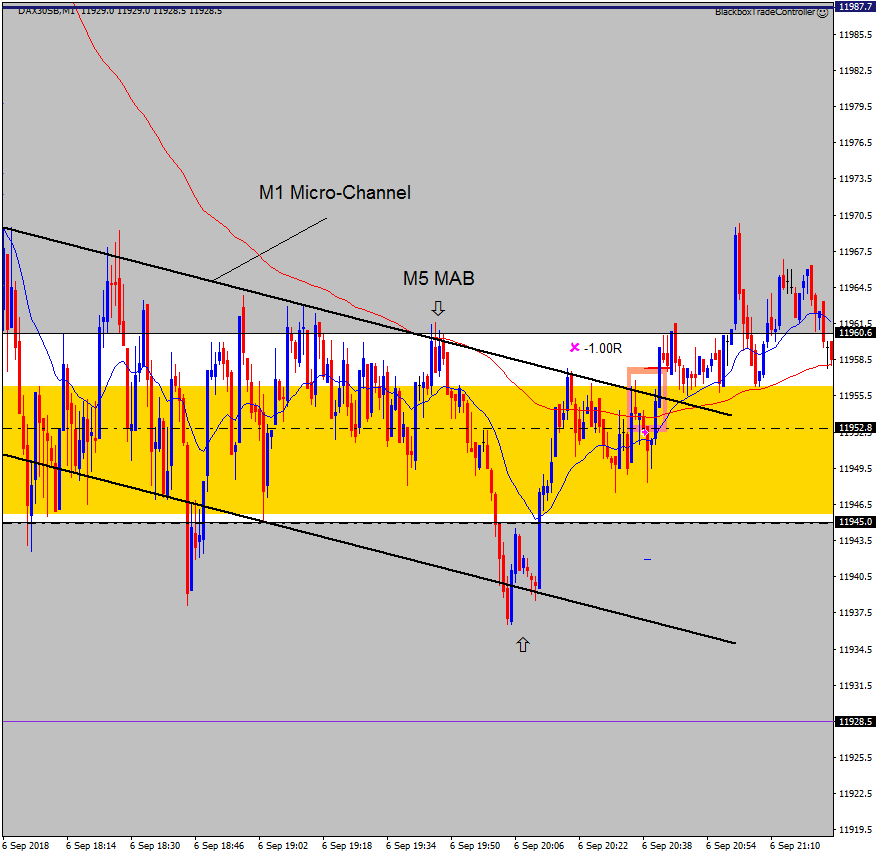
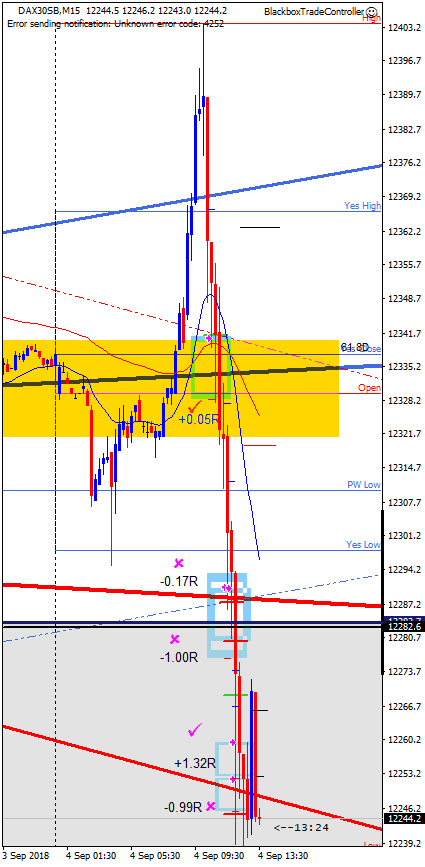
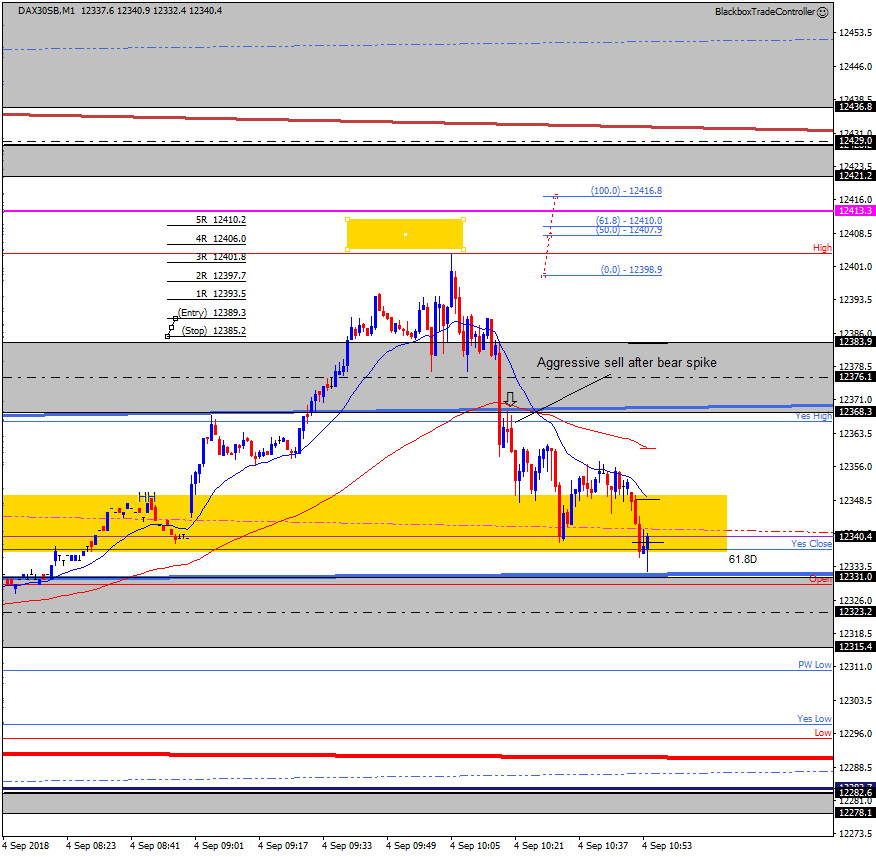
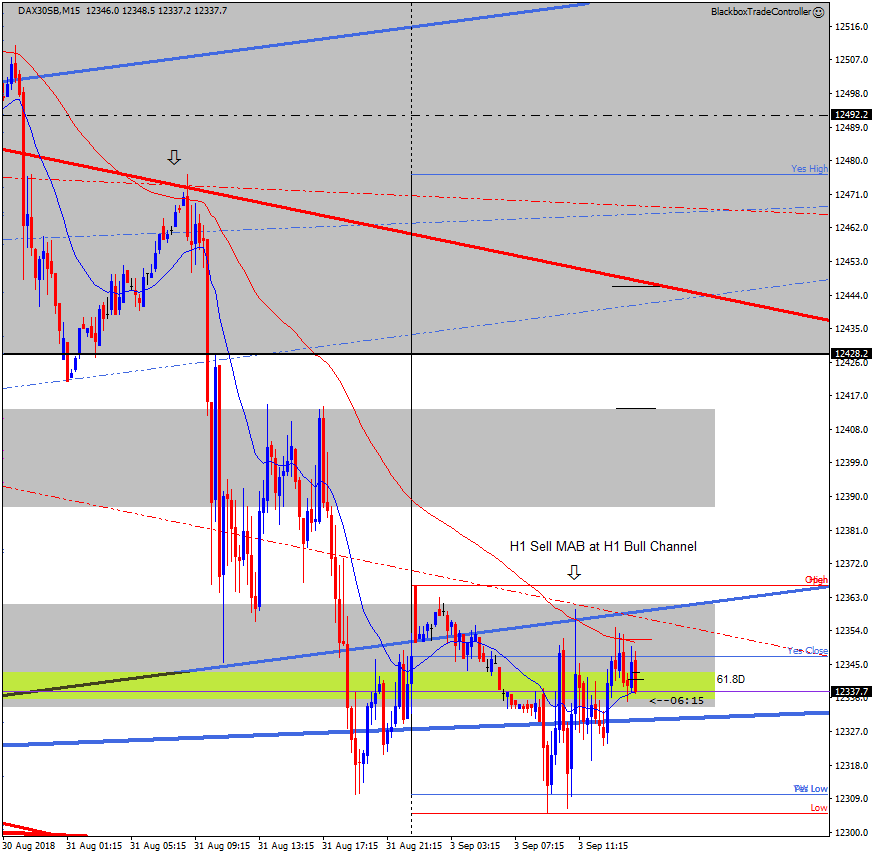
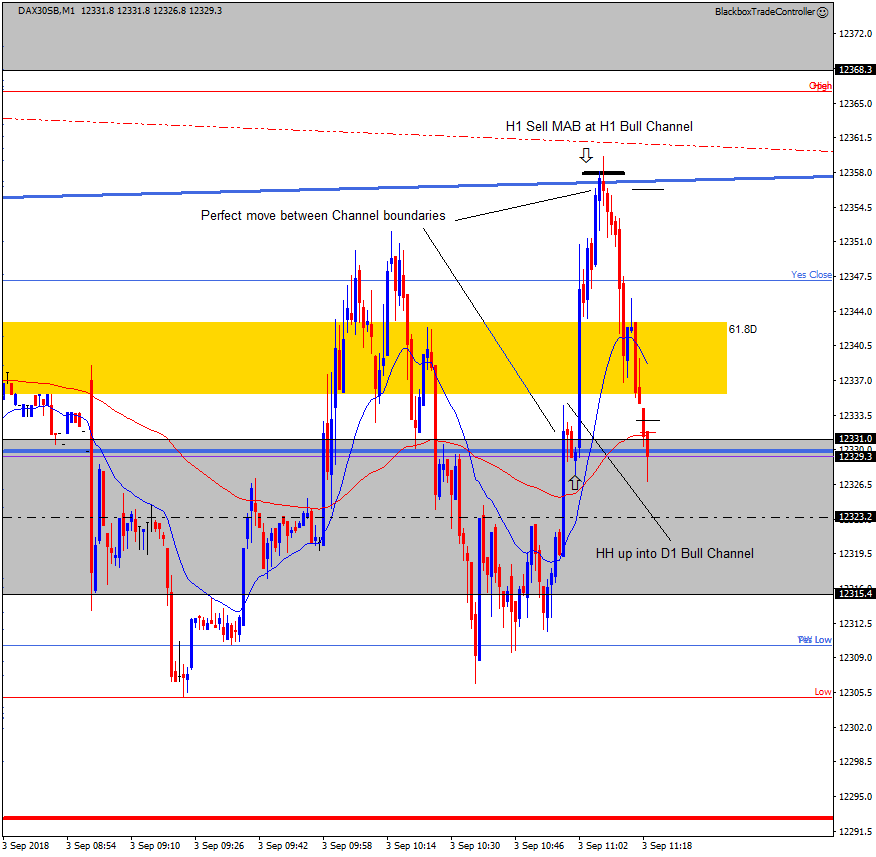
I then took the M5+M15 Sell MAB that was structurally good. It immediately went in my favour which is always cool but it then reversed and continued on up. However, I did reduce my risk which went in my favour on this occasion.

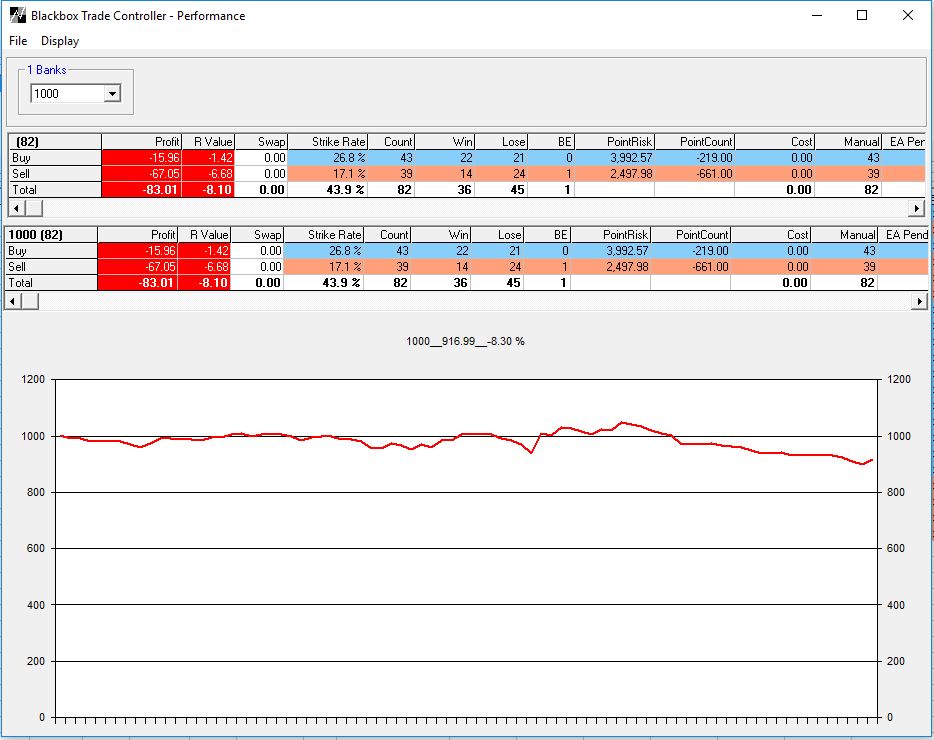
So, two losing trades and was SO close to taking the sell down to the Golden Low-High zone which was a potential 3R based on my read.

The M5+M15 Sell MAB I can reason was low probability due to the context of price moving up off the H1 Bear Channel and the 61.8 level of the Zone.

This is the fine margins and reality of trading, it’s part of the journey, embrace it, minimize risk, control emotions that can lead to such things as “revenge trading”.

“Be The Bear”, wait patiently for the next setup, be consistent and the traders equation will take care of things 🙂

12:56

Two losing trades from yesterday

Yesterday I took two losing sell trades. The first one was a sell at the PM Low, it started well but the M1 MAB sent price back up. I moved my stop based on an intersection on the M5 chart, did not work out and resulted in a -1.60R loser – Ouch 🙁

The second sell was at an area of RESCON:

  • D1 EQZ Mid-line at 12135.7, this was a major level as seen on the Daily chart.
  • H1 Bull Mid-Channel
  • H1 Bear Mid-Channel

The bulls took over 40 minutes but they eventually broke up through it resulting in another loser.

This trade was rushed as seen by my trade entry point, it was due to FOMO. Had I been more patient I may have waited for better value and ensured my stop was above the 12154.6 level.

I had to stop at this point, however, price only reached the H1 EQZ level at 12154.6 before selling off to test the 12000 level. I’d moved my target on the second trade down to 12050.0 anticipating this based on the Daily and H4 charts, had I not been stopped out that would have been a multiple R winner!

The point here is that we must be consistent in our reasoning knowing that eventually we will learn to master price action and multiple R winners will be normal.

Losers are are part of the game but a consistent approach and controlling our emotions will allow the traders equation to work its magic 🙂

Wed 5th Sep

Welcome to the daily DAX commentary where we share with members our unique take on Price Action as the session unfolds. We comment on trade setups that conform to our trading edge and how we use the hybrid Blackbox Trade Controller for MT4.

Use the comments section below to post questions and read what others are saying.

Remember to:

08:33

Major support level being tested

Price has continued moving down after yesterdays sell off and is currently testing a major support level at the D1 EQZ Mid-line at 12135.7

We need to see a clear Higher-High or Lower-Low form as price moves away from the zone/level as price will be very rangey and spikey whilst it’s being resolved.

The H1 Bull Mid-Channel and H1 Bear Mid-Channel are also confluent with this level.

This shown on the M15 chart below.

Tue 4th Sept

Today I will create an unorthodox post. 

I was hesitating to post today’s trades as I am definitely not proud of them. But it wouldn’t be honest to post only the good side of my trading, showing only perfect confluence and timing as if we were robots taking only great trades.

So far, I am profitable for the day but I am not happy about my performance. If your chart ever looks like the ones below, you are at least, not trading the edge taught by the guys from Blackbox. 

It started well, with me managing risk in the first two trades, but I was blinsided by the initial move up at the beginning of the session, not noticing that it was an agressive trend that would last at least 4 hours. I was in buy mode the whole session, missing good opportunities to sell. Please see below 7 trades, split between the 5 and 15 minute charts:     


08:55

10:40

SUPCON – H1 Bear Mid Channel

SUPCON – H1 Bear Channel

08:30

Multiple trades

What you saw above is a trader ignoring a clear trend in the market.

I had 7 buy trades in a market that was and (as of 11:52AM) still is plummetting.

I am +1.19R yet I know that it is not the way that will take me to consistent profit. Lesson learnt! 


Tue 4th Sep

Welcome to the daily DAX commentary where we share with members our unique take on Price Action as the session unfolds. We comment on trade setups that conform to our trading edge and how we use the hybrid Blackbox Trade Controller for MT4.

Use the comments section below to post questions and read what others are saying.

Remember to:

18:15

GZ M15 Great Sell

I’ve just sat down after being out this afternoon and spotted a great sell setup.

Price has sold off all day forming a session low at 12160.0, from there price retraced up to the H1 Bear Channel. The RESCON consisted of:

  • H1 Bear Channel
  • 61.8 level at 12245.4 (after trying a few options if point A is taken from Yes Low its a perfect fit)
  • M5 Bull and Bear Channel intersection (not shown).
  • Great Role-Reversal structure

A great sell setup, wish I’d been at my desk.

Once again note how the Grid channels channel price!!

I’ve just taken a screenshot – below – of the M5 chart to show how cool this setup was and how it supports trade reasoning and decision making 🙂

10:58

Video of sell trade

This 9 minute video is of the sell trade taken earlier.

00:00 – 03:42   Anticipates the sell setup.

03:43 – 06:45   Live trade.

06:46 – 09:23  Post trade analysis.

This sell trade setup was very similar to the one I videoed last week where the Open formed part of the Golden Zone.


09:54

GZ M1 Sell FIBCON, +2.01R

At 7am the European traders drove price up above the H1 Bull Channel, just after 8am price moved up to form the session High before selling off strongly back down below the H1 Bull Channel.

There was a very aggressive sell trade possible when price spiked below the H1 Channel and Yes High, see screenshot below.

I waited for a clear break below the D1 Bull channel and the Open. It eventually came when price moved down the the PW Low. I entered a sell trade as shown when price retraced back up to the Open and D1 channel.

The Golden Zone formed perfectly between the Open and the D1 Bull Channel and the earlier LL at the Open provided excellent Role-Reversal support for the trade.

This was an excellent setup and worth wating patiently for.

The screenshot below shows the aggressive sell trade mentioned above, the strength of the bear candle supported a move lower with Yes High and the H1 Bull Channel acting as high-speed Role-Reversal structure.

Mon 3rd Sept

09:08

H1 Sell MAB

I had to go to the City for an hour but before leaving I spent some time trying to identify possible support/resistance areas that could give me some profit.

When I left price was hanging around the Daily Bull Channel(as I write it is still doing so). However, I left my trade tool in a place where I would take a trade if price got there.

When I returned, the screen shot above shows exactly how I found it. Price went right up, got to the Mid H1Bear Channel and, helped by the H1 moving average, had a fast retracement to the Daily Bull Channel. A quick +2R or more had I been at home at that time.

Anyway, happy to have identified that trade in advance, that’s definitely the way forward! 

Mon 3rd Sep

Welcome to the daily DAX commentary where we share with members our unique take on Price Action as the session unfolds. We comment on trade setups that conform to our trading edge and how we use the hybrid Blackbox Trade Controller for MT4.

Use the comments section below to post questions and read what others are saying.

Remember to:

19:24

Price is deciding the next move…

After last weeks move down through the daily bull channel price has spent today moving between:

  • H1 Bull Channel
  • H1 Bear Mid-Channel
  • D1 Bull Channel
  • D1 Bear Channel

This has resulted in a range  day with the best setup being the H1 Sell MAB mentioned earlier. We must study what price tends to do when deciding the next move. 

Note how price interacts with hourly bull and bear channels after it fails to hold above the Daily Bull and Daily EQZ last week at 12577.5

This Daily and Hourly grid structure captures all the key turning points as price makes its way down.

12:47

Higher timeframe Grid

The 4-hour chart above shows the Daily Grid structure overlaid. Price is currently finding support on the D1 Bull channel boundary, the question is:

  1. Will price move up back into the bull channel or
  2. Move on down to where the D1 EQZ at 12283.7 and D1 Bear channel is.

Below is the M15 chart which along with the Daily Grid structure has the Hourly Grid structure overlaid.

Since testing Yes Low and PW Low (Friday) price has been contained between the D1 Bull Channel and the H1 channels (Bull and Mid-Bear).

10:19

D1 and H1 Bull Channels……

I’m not trading today but will post the occasional update on what’s been going on.

Last Friday at 17:00 price eventually moved down to the D1 Bull Channel as anticipated. This morning price has been testing both the D1 and H1 Bull channels for support.

This has resulted in price currently being contained between them, the above screenshot shows this. Since 8am price moved up to test Yes Close then moved down to test the Low.

The Micro-Bull spike back up above the D1 Bull Channel was confluent with the top of the M5 EQZ at 12331.0, this was followed by a very precise move up to test the H1 Bull channel. This was a great sell setup due to the confluence of:

  • H1 MAB
  • H1 Bull Channel
  • H1 Bear Mid-Channel
  • 61.8 level at 12355.8 (see below)
  • M5 Bull and Bear Channel intersection (not shown)
  • Top of M15 KeyZone (see below)

Below is the M15 chart showing the Golden Zone and the M15 KeyZone. This H1 MAB sent price back down to the D1 Bull Channel and offered a potential 4-5R with good timing.

This retrospective analysis is easy of course BUT it is part of the process as it helps to develop confidence in the Price Action Grid. Trusting Grid structure is vital and the only way to develop that trust is to watch price interact with it day in day out.